Note before reading: This post is for non-block-based themes. While you could use a modified version of this technique for block-based themes, we advise against it.
As WordPress’ Gutenberg editor moves closer and closer to a Full Site Editor (FSE), it’s important that we continue to find new and efficient ways for clients to manage all aspects of their sites. This includes allowing clients to manage page template parts that in the past we might have allowed them to edit.
In this post, I’m going to talk about how to create a simple, scalable solution for creating page caps.
What is a page cap?
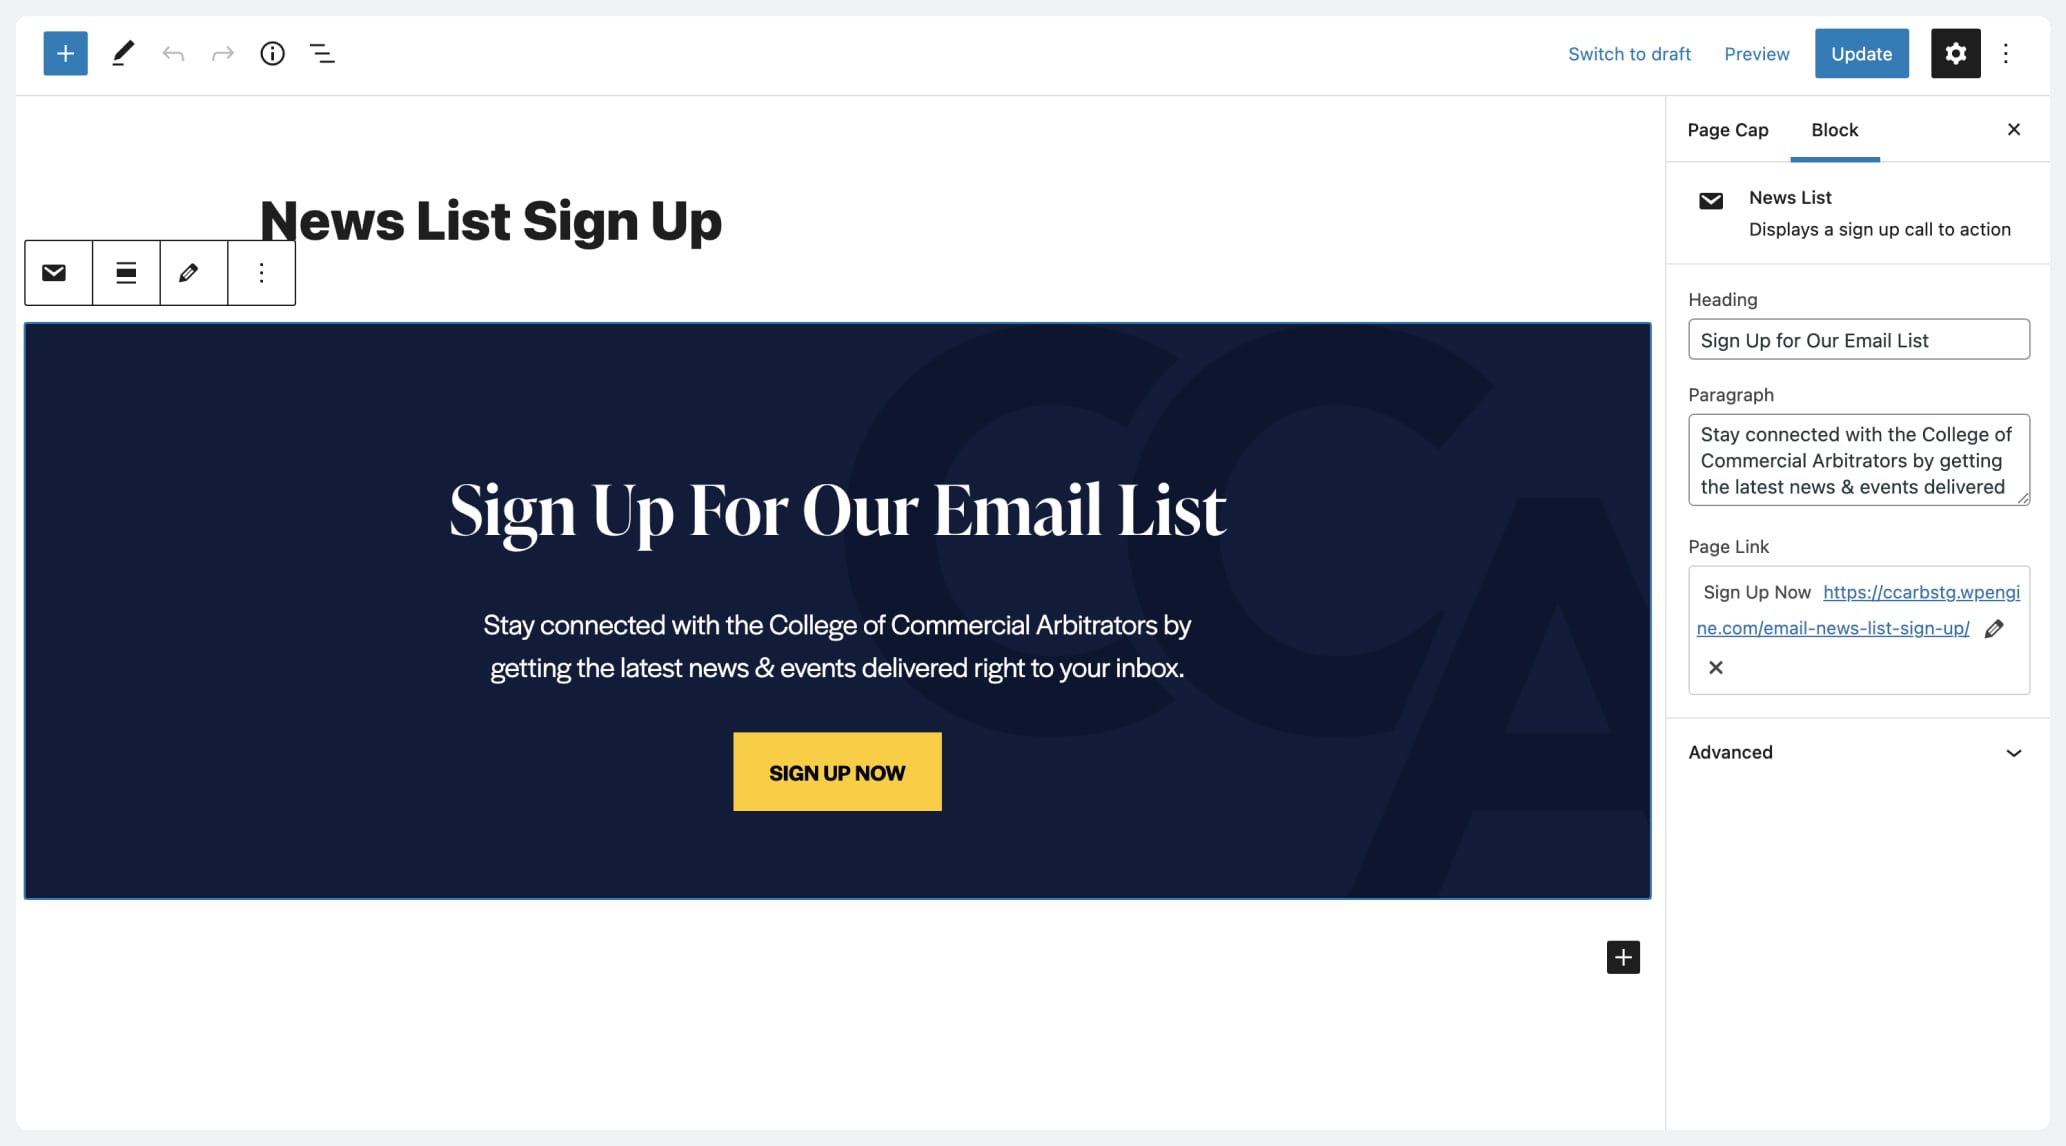
First, what is a page cap? At Made by Munsters, we define a page cap as a block that sits between your page’s main content and the site footer.
It can be anything from a newsletter sign-up, a promotional tease, or a carousel that features the latest posts on your site. The key to keep in mind is that it is a global block that is not connected to the page’s main content and can be inserted on any page without causing confusion for the user.
How to create page caps in WordPress?
We have found that the best way to create page caps, that can be used across templated and non-templated pages, is by creating a custom post type. This allows you to create unlimited post objects that can be intermixed and referenced as needed.
Here are the steps we take to create page caps for our projects:
- First, create a custom post type called Page Caps
- Second, create a new Page Caps post and put anything in it you want – we’ll update this later, but for now, we just want to make sure we can return the content.
- Finally, using the
get_post()function, return the post you just created on any template – single, page, home, etc.
At this point, you should be able to return the post content from the Page Cap post you recently created. However, this implementation method is not useful and doesn’t even allow clients to update or change what Page Cap post is returned.
Creating Customizable Page Cap Object
How do we make sure clients or site admins can maintain the Page Caps for their site?
- First, we need to create a settings page that returns the posts in the custom post type and then allows the admin to set the active post. We use Advanced Custom Fields at Made by Munsters.
- Thus we create a new custom field titled, “Page: Page Cap.”
- This custom field has one option which is a post object that returns only the Page Cap post type.
- Next, we set a default post. This way if the admin creates a new page or post and does not want to customize the page cap an error will not be returned.
- Finally, make sure to select what types of posts can reference this setting. We typically allow posts and pages, but this will be determined, most likely, by your design.
Once this step is complete, admins should now be able to customize what page cap is shown per page or post. It’s good practice to also add a theme settings page as a fallback using the same instructions as above. However, instead of targeting posts and pages, you can add the post object select to a theme settings page.
The last step to implementing customized page caps is to ensure you add the necessary code to your template files. An example using Timber and Twig looks like this:
{% if post.meta('page_post_page_cap') %}
  {{ post.meta('page_post_page_cap').content }}
{% elseif theme_default_page_cap %}
  {{ theme_default_page_cap.content }}
{% endif %}
In this case, we are checking to see if the specific page or post has a defined page cap, if not we fall back to the theme’s default page cap.
Wrapping Up
Now all that is left to do is create some unique page caps. The great thing about this method is that you can return anything you want inside of the Page Cap post you create.
Typically, we create a unique block such as a newsletter sign-up form or post carousel. This way our clients have a few options to choose from when creating new posts or pages. As a general rule of thumb, we try to place only one block inside of the post.
Hopefully, this post helps you think about the different ways you can use custom post types and simple render methods to make unique page layouts that are easy for admins and clients to manage.